
What Is a Bore Gauge and How Do You Use It to Measure Internal Diameters?

A caliper can measure a hole, but it can’t tell you whether the hole is round, straight, or worn. A bore gauge can. It measures the inside diameter of a bore with enough resolution to see wear, taper, and out-of-round, which is why it’s the standard tool for cylinders, bushings, and bearing housings.
This guide explains what a bore gauge is, the main types, and how to set up and use a dial bore gauge so the reading is one you can trust.
The short answer: a dial bore gauge is a comparative instrument. You set it to a known reference size with a setting ring or micrometer, put it in the bore, rock it to find the needle’s turning point, and read how far the bore differs from the reference. Reference setting and measuring should be done under similar conditions.
What a Bore Gauge Is
“Bore gauge” is a collective term for the tools made specifically for accurately measuring holes. Some measure the bore directly, such as an inside micrometer or a vernier bore gauge. Others are comparative: they compare the bore with a reference size and show the difference, or they transfer the internal dimension to a separate measuring tool.
That distinction decides how you use each one, so it’s worth knowing which kind you have before you start.
The Main Types of Bore Gauge
| Type | How It Measures | Notes |
|---|---|---|
| Telescopic gauge | Transfers the bore’s internal dimension to a remote measuring tool, usually an outside micrometer | The direct equivalent of inside calipers. It needs the operator to develop the right feel for repeatable results |
| Small-hole gauge | Also transfers the dimension; initially set smaller than the bore, then expanded | Handling is slightly more difficult than for other bore gauges |
| Dial bore gauge | Comparative: a contact needle in the head moves as the bore is measured and shows the result on a dial or digital readout | Interchangeable end sets the nominal size, and reference contacts aid alignment with the bore |
| Inside micrometer or vernier bore gauge | Measures the bore directly | Inline micrometer heads with added rods or tubes offer the greatest range of the handheld bore measuring tools |
Mitutoyo also separates two-point from three-point bore measuring tools. Two-point tools come with dial or electronic displays, while three-point tools are available with mechanical micrometer heads, electronic displays, and a quick-acting snap-style release. Bore gauges without built-in scales are the lowest-cost option, require more operator expertise, and are generally not used where a high degree of precision is necessary.
Need measuring instruments for bores and internal diameters? Tell us the bore size range and tolerance and we’ll help you find suitable Mitutoyo or Insize equipment.
How a Dial Bore Gauge Works
A dial bore gauge has a contact needle housed inside the head. When you measure a bore, the needle moves and passes that movement, mechanically or electronically, to the dial or readout. The head also includes an interchangeable end that sets the nominal size, and reference contacts (guides) that help it line up with the bore. Interchangeable ends come in different lengths to cover a range of bore sizes.
Because it is comparative, you must first set the gauge to the nominal value of the bore. It then reads how far the bore is above or below that size, not the absolute diameter.
Setting It: Micrometer or Setting Ring
Using an outside micrometer is the quickest and least expensive way to set a dial bore gauge. More accurate options are a ring gauge (also called a master ring) or dedicated bore gauge setting equipment that uses gauge blocks or other standards. When a dial bore gauge is set with a ring gauge, overall accuracy can be within 0.0001 inch (0.00254 mm), at a higher cost and with more time.
Mitutoyo recommends a calibrated setting ring, or a bore gauge checker with gauge blocks, for reference setting. Zero-setting with a micrometer takes a certain dexterity because there is no self-centring action as there is with a setting gauge.

Step by Step: Measuring a Bore With a Dial Bore Gauge
- Choose the right gauge and end. Pick a gauge and interchangeable contact whose range covers your bore. Mitutoyo advises setting the zero point near the middle of the gauge’s measuring range, matched to the median of the bore diameter range you’re working in.
- Clean everything. Remove dust and dirt from the contact surfaces, the guides, the reference ring, and the bore.
- Set the reference. Use a calibrated setting ring or a bore gauge checker, or a micrometer set to the nominal size. Tilt the handle so the guides enter first, followed by the contact point.
- Find the turning point and zero the dial. Swing the gauge in the setting ring, vertically or horizontally, until you find the point where the needle reverses direction, and set the dial to zero there. Mitutoyo’s guide describes setting the reference at the point where the indicator reads its maximum value, so follow your gauge’s own instructions for which direction that is.
- Insert it into the bore. Tilt the handle so the guides enter first, then bring the gauge square to the bore axis.
- Rock the gauge. Move it gently through the bore and find the turning point again. That reading is the true diameter, because a tilted gauge reads longer than the diameter.
- Read the deviation. The dial shows how far the bore is from the reference. Add or subtract that from the reference size.
- Repeat at more than one depth and direction. That shows whether the bore is tapered or out of round, which a single reading can’t.
Worked Example (Illustrative Numbers)
You zero the gauge in a 50.000 mm setting ring. In the bore, the needle turns at +0.012 mm. The bore is 50.012 mm at that point. Measuring at three depths and finding 50.012, 50.018, and 50.025 mm would tell you the bore widens toward one end. Check your gauge’s manual for its sign convention.
Using a Telescopic Gauge
A telescopic gauge works differently. You put it in the bore, let the spring-loaded rods expand against the wall, and lock them. The gauge is rocked slightly so it finds the maximum distance between the two halves of the head. Wikipedia notes that moving the head around while you measure helps you find that optimal reading. The locked gauge then comes out of the bore and its dimension is measured with an outside micrometer.
It’s inexpensive and useful for general work, but the result depends on feel and on the second measurement with the micrometer, which is why it is generally not used where high precision is needed.
Common Errors and How to Avoid Them
| Error | What Goes Wrong | Prevention |
|---|---|---|
| Not rocking the gauge | A tilted gauge reads a longer distance than the true diameter | Rock through the bore and read the needle’s turning point |
| Skipping or rushing the reference setting | Every reading inherits the setting error | Set to a calibrated setting ring or checker, and set before measuring |
| Setting with a micrometer when tolerance is tight | Micrometer setting is quick but less accurate than a ring gauge | Use a master ring or setting equipment for tight tolerances |
| Different conditions for setting and measuring | Differences between reference and measurement add error | Set and measure under as similar conditions as possible |
| Forgetting to reset after changing the contact point | The gauge no longer matches its earlier reference | Use the proper spanner to change the contact, then set again with a ring gauge or master part |
| Forcing the gauge in | Can scratch the measuring face | Tilt so the guides enter first and handle gently |
| Measuring only once | Misses taper and out-of-round | Measure at several depths and directions |
Which Bore Gauge Should You Use?
For Repeated, Precise Work
A dial bore gauge set to a ring gauge, with its guides to centre it and a direct readout, suits repeated measurements and tighter tolerances.
For Quick General Checks
A telescopic gauge with an outside micrometer is inexpensive and fine for one-off jobs where high precision isn’t required.
For Larger Bores and Long Reach
An inside micrometer with added rods or tubes covers the widest range of handheld tools, according to Mitutoyo’s guide, and measures directly.
For Self-Centring and Roundness
Three-point bore measuring tools centre themselves in the bore, which makes readings more repeatable, and they come with mechanical or electronic displays.
Sourcing Bore Measuring Equipment in Dubai
Khokhawala Trading LLC supplies precision measuring instruments in Dubai and across the UAE, including calipers, micrometers, dial gauges, indicators, and other inspection tools for manufacturing, engineering, and quality control. The range includes products from Mitutoyo and Insize, and the team can advise on whether you need a dial bore gauge, an inside micrometer, or a setting ring for your bore sizes.


With more than 35 years of industrial tool supply experience, Khokhawala Trading LLC serves manufacturers, CNC shops, fabrication companies, and engineering industries across the UAE. Availability of specific bore gauges varies, so ask the team for current stock.
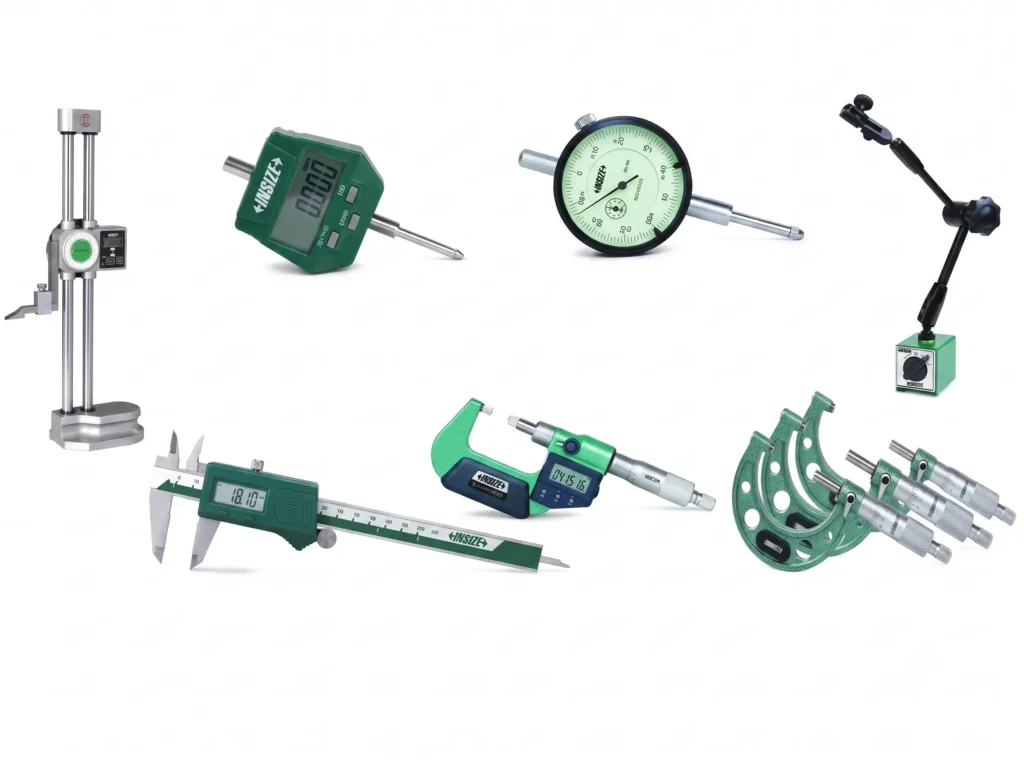
Ready to shop precision measuring instruments? Browse the range or send us your bore size and tolerance for a fast quote.
A Quick Bore Gauge Checklist
- Does the gauge’s range and contact cover your bore size?
- Are the contacts, guides, setting ring, and bore clean?
- Is the reference set with a calibrated ring (or checker) when the tolerance is tight?
- Are you tilting the guides in first and rocking to the needle’s turning point?
- Are setting and measuring done under similar conditions?
- Are you measuring at more than one depth and direction to catch taper and out-of-round?
- Did you reset after changing the contact point?
- Do you know your gauge’s sign convention for plus and minus readings?
Conclusion
A bore gauge measures internal diameters accurately enough to show wear that a caliper misses. A dial bore gauge is comparative: it must be set to a known nominal size, ideally with a ring gauge, and then rocked in the bore to find the needle’s turning point and read the deviation. Setting method, alignment, matching conditions, and repeat readings at several depths are what turn the gauge’s resolution into a result you can rely on.
For businesses sourcing measuring equipment in Dubai, Khokhawala Trading LLC supplies Mitutoyo and Insize precision measuring instruments for manufacturing, engineering, and quality control.
Need Help Choosing a Bore Gauge?
Send us your bore size range and tolerance, and Khokhawala Trading LLC will help you find the right equipment.
Bore Gauges, Answered
A bore gauge is a collective term for tools made to accurately measure holes. Some measure the bore directly, such as inside micrometers, while others, such as dial bore gauges, compare the bore with a reference size.
A comparative instrument, similar to a telescoping gauge but with an analogue or digital readout. A contact needle in the head moves as the bore is measured and passes that movement to the dial. It must first be set to the nominal value of the bore.
With an outside micrometer, which is the quickest and least expensive method, or with a ring gauge (master ring) or bore gauge setting equipment using gauge blocks, which are more accurate. Mitutoyo recommends a calibrated setting ring or a bore gauge checker.
When set with a ring gauge, overall accuracy can be within 0.0001 inch (0.00254 mm). Setting with a micrometer is quicker and cheaper but less accurate.
Rocking aligns the gauge square to the bore axis. The needle’s turning point is the true diameter, since a gauge tilted in the bore reads a longer distance than the diameter. Mitutoyo’s guide also has you swing the gauge in the setting ring to find the reference point.
A telescopic gauge transfers the bore’s dimension to an outside micrometer and relies on the operator’s feel. A dial bore gauge compares the bore to a set reference and shows the difference directly on a dial or display, and has reference contacts to aid alignment.
Take readings at more than one depth and in more than one direction. A change in diameter with depth points to taper, and a change with direction at the same depth points to out-of-round. A single reading can’t show either.
Two-point tools are available with dial or electronic displays. Three-point tools are available with mechanical micrometer heads, electronic displays, and quick-acting snap-style release, and they centre themselves in the bore.
Yes. Mitutoyo advises using the special spanner to replace the contact point and then performing the initial setting again with a ring gauge or master part before measuring.
Khokhawala Trading LLC supplies precision measuring instruments in Dubai and across the UAE, with products from Mitutoyo and Insize. Ask the team about availability of specific bore gauges.